Welcome to our October Stamp of the month
Australasian Close to My Heart Blog Hop. If you have arrived here from Denise's Blog: Scrap Stamp Share then you are in the right place. If you landed here by
accident, no problem, please join in by following the link at the end of
this post.
Today I am going to share a cute little embellishment idea that could be used on a card, a tag or on a scrapbook page. I like to call it 'There's a bear in there'.
It features this month's stamp of the month: Home for the Holidays available
exclusively throughout October for $27 or for just $5 when you
spend $75.

Now you will have to excuse the craft surface you may see in some of my photos, being a Mum of two very active children I completed this project on THEIR craft table so they could 'help'.
Step 1: Stamp the polar bear stamp in
Crystal Blue ink onto
White Daisy Cardstock. Isn't he cute?
Step 2: I use a technique I entirely made up myself. In saying that I am sure I am not the only person who has ever done this just that it is not something I learnt from anyone else. Ok, so I took one of my son's old textas and removed the ink bit from the inside. I ran it under warm water for a few minutes until the water ran clear. I now how have a thoroughly dead texta. Good. Because what I really want is a fine tip pointy sponge.
I take my new tool and dab it in my
VersaMark ink. Then I draw over the top of each snowflake on my stamped image dabbing in the ink in between each one.
I keep my special home made tool in my organiser and I don't let anyone else near it. I have used it for lots of projects now with both the VersaMark ink and also my pigment inks - my previous one met a sad end when someone tried a little too hard to get the texta to work.... grrrrrr.... don't touch other people's tools without asking! Sorry... digressing...
Step 3: Coat with
Silver Embossing Powder (and tap off of course). In this case I haven't worried about flecks of dust on the image as it adds to the effect I am creating.
Step 4: Apply heat (as per normal heat embossing).
Step 6: I took my stamp and inked it with
Cranberry Ink. Then I took a piece of paper towel and rubbed off the ink on the ears, the facial features and the arms. You could also just use your finger. I don't like to use wet wipes for this because they are sometimes too effective and stop the next bit from working.
Next I used a
dauber inked with
Cocoa Ink and daubered the face and arms. Then I took a dauber inked with
Cotton Candy Ink and daubered the ears.
Step 7: Stamp this onto White Daisy Cardstock. Using
micro-tip scissors cut around the bear. Don't leave any colour around the edges of him.
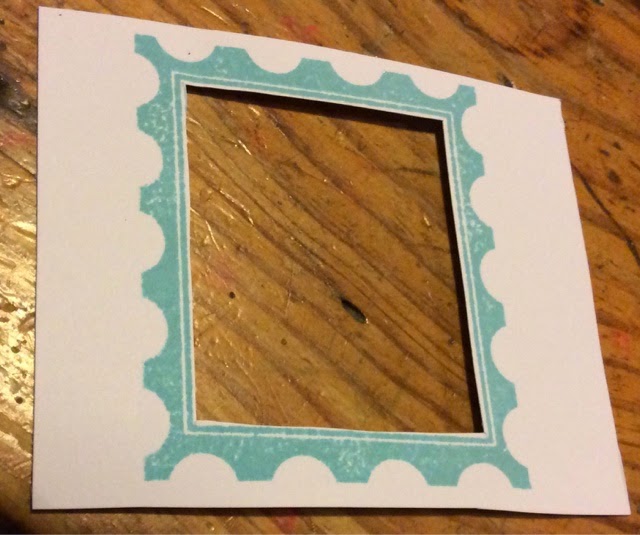
Step 8: Stamp the image again in Crystal Blue ink on white daisy cardstock and cut out the inside of the picture leaving only the frame.
Step 9: Take a piece of
Cranberry Cardstock and cut to 3 1/8" x 4 1/4"
In the centre bottom of the back stamp the image again. It does not matter how perfect or imperfect this stamped image is.
Step 10: Cut out the inside of the image including the frame parts - go slightly wider than the frame on all sides.
Step 11: Use adhesive to stick the Crystal Blue Frame to the Cranberry cardstock.
Step 12: Use
Glue dots to stick the cut out bear to the embossed image. The glue dots will raise him up off the page just a little bit.
Step 13: Stick the window on top of the embossed image using
foam tape.
Step 14: There's a bear in there.... Just decide what you want to do with your little cutie!
Home for the Holidays is only available until the 31st of October 2014 from your
CTMH consultant.
Bear and I would love you to leave a comment before heading off to your next stop:
Georgia Creates CTMH.